The one about the letter.

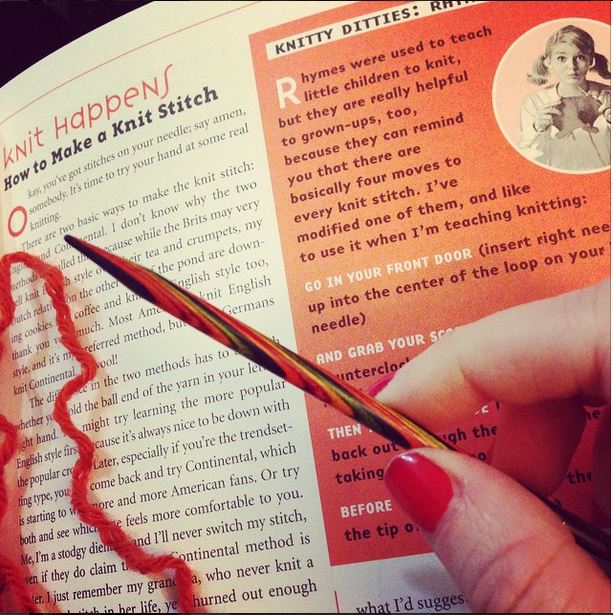
**Ahem.** Once upon a time that was last February, I started a letter. This was not just any letter: it was a letter born out of daydreams, hopes, and a serious desire to “find my tribe.” In this letter, I wrote to the craft company of all craft companies begging asking them to please, please hire me (in summary).

yojc2zlakxgnerqvxi
“Dear People, I would be great at all the things & the stuff.”

Fast-forward.

Despite writing multiple versions, revisions, and re-writes, the letter did not get sent in February or March…or even April…or May (I could go on). Every time I would go to send it I’d chicken out, not wanting to risk the inevitable rejection from a company I had been idealizing for what felt like forever. Meanwhile, I got a contract offer from a major SUPERbrand and jumped at the opportunity. That opportunity was AMAZING–I worked with a whole company of insanely talented individuals, I was fortunate enough to land some fantastic projects, and I learned more than I thought possible. The letter stayed a draft.

Fast-fast-forward.

Life happened like it does. There were a lot of Mondays, weekends, and the days in-between. By this point I was looking at building a solid career path with team SUPERbrand. I liked the idea and the notion but the same dreams & hopes of combining my love of crafts with my day job popped up every time I tried to career goal set. So, I braved up. I polished the letter yet again and this time SENT IT OUT.

czbicjtyozhtw
Ta-da.

I figured at that point, “Hey, at least it’s out of your system!” Rejection or no, I played my hand.

Fast-fast-fast-forward.

YOU GUYS. THEY CALLED. Well, technically it was email but either way, they were amazing and generous and kind and they didn’t reject me. There were several meetings and conversations and in the end, they offered me a job and I enthusiastically and whole-heartedly accepted. I won’t be on the team I wrote the initial letter to (aka the yarn team) but that letter opened the door to connect me with the team I AM joining (aka the fabric team). I am going to get to work and serve a community of crafters. They’re going to allow me to represent their brand, use my favorite skill-sets, and combine my passions with my day job….because I pressed send. So listen to those nagging hopes/dreams/passions, even if people tease you for spending your free time knitting or you might end up with a rejection.

4xwz9iqxo1syy
Because sometimes it actually pays off.

Be brave, press send, and make a scary change to do something you love. You’ve got this.

vsxv2shykclsg
I start Monday!


Alexis Street

In true procrastinator fashion, it’s been about 10 months since I last posted. I don’t want to make excuses, but life has been busy. Seriously. 

Our second daughter was born last May, we celebrated four years of marriage last summer, our oldest daughter turned two in November, and we bought our first home in December! So, yeah. Busy. 

I can’t say that I feel less busy now. Actually in all honesty, I’m more busy now than I probably was last summer. But as I’m sitting here rocking my baby to sleep, I really want to share some details of my oldest daughter’s birthday party. 

Like I said before, she turned two in November. And it was fun. 

Welcome to ALEXIS STREET!

  
My daughter loves Sesame Street. Her favorites are Elmo, Cookie Monster, and Abby.  So what other kind of party could we possibly have thrown her, other than to create her own Alexis Street? The short answer: there is no other party. 

Let the mommy crafting begin! 

Balloons, pipe cleaners, and lots and lots of flower pins became her very own Alexis Street balloon wreath.  

  
Small canisters, crayons, and a hot glue gun were all I needed to make some utensil holders. 

 
Spray paint, wood, and a crafty husband with power tools helped me make her own lamp post sign. 


 It turned out so good!

   
We sorted M&Ms and I drew some Sesame Street characters on the little containers. These were mainly for decoration fillers. And of course for eating. 

 
And lastly, I made an Elmo face made out of tomatoes, carrots, and olives. 

  
The party was a success! Our little Princess turned two and celebrated with all of the people she loves! Birthdays are so much fun. 

Here are some party photos of the end result!             

  WELCOME TO ALEXIS STREET!!


Heffalumps & Woozles

You may or may not have noticed, but we dropped off the face of the earth for a while.  Jamie had a pretty good excuse (she gave birth and has been busy keeping two little people alive).  Me, on the other hand….well, I am very busy and important. Obviously.

Doing all the things. And the stuff.
Schedules and sarcasm aside, my blogging hiatus now means I have SO MANY things to post about!!! Which *ahem* brings me to my latest and greatest:  the pink elephant.  

Further in the past than I would like to admit, I decided to make something for a friend who was pregnant with her first baby.  Although still dedicated to becoming a knitting machine, I wasn’t about to gift her a pile of tangled lint (which is what my knitting skill level was at the time). So, I took a brief hiatus from knitting needles and went back to my faithful crochet hooks to make my very first stuffed animal.  I even got fancy and paid for not one, not two, but an entire BOOK of crochet patterns:  “Edward’s Menagerie” by Kerry Lord.

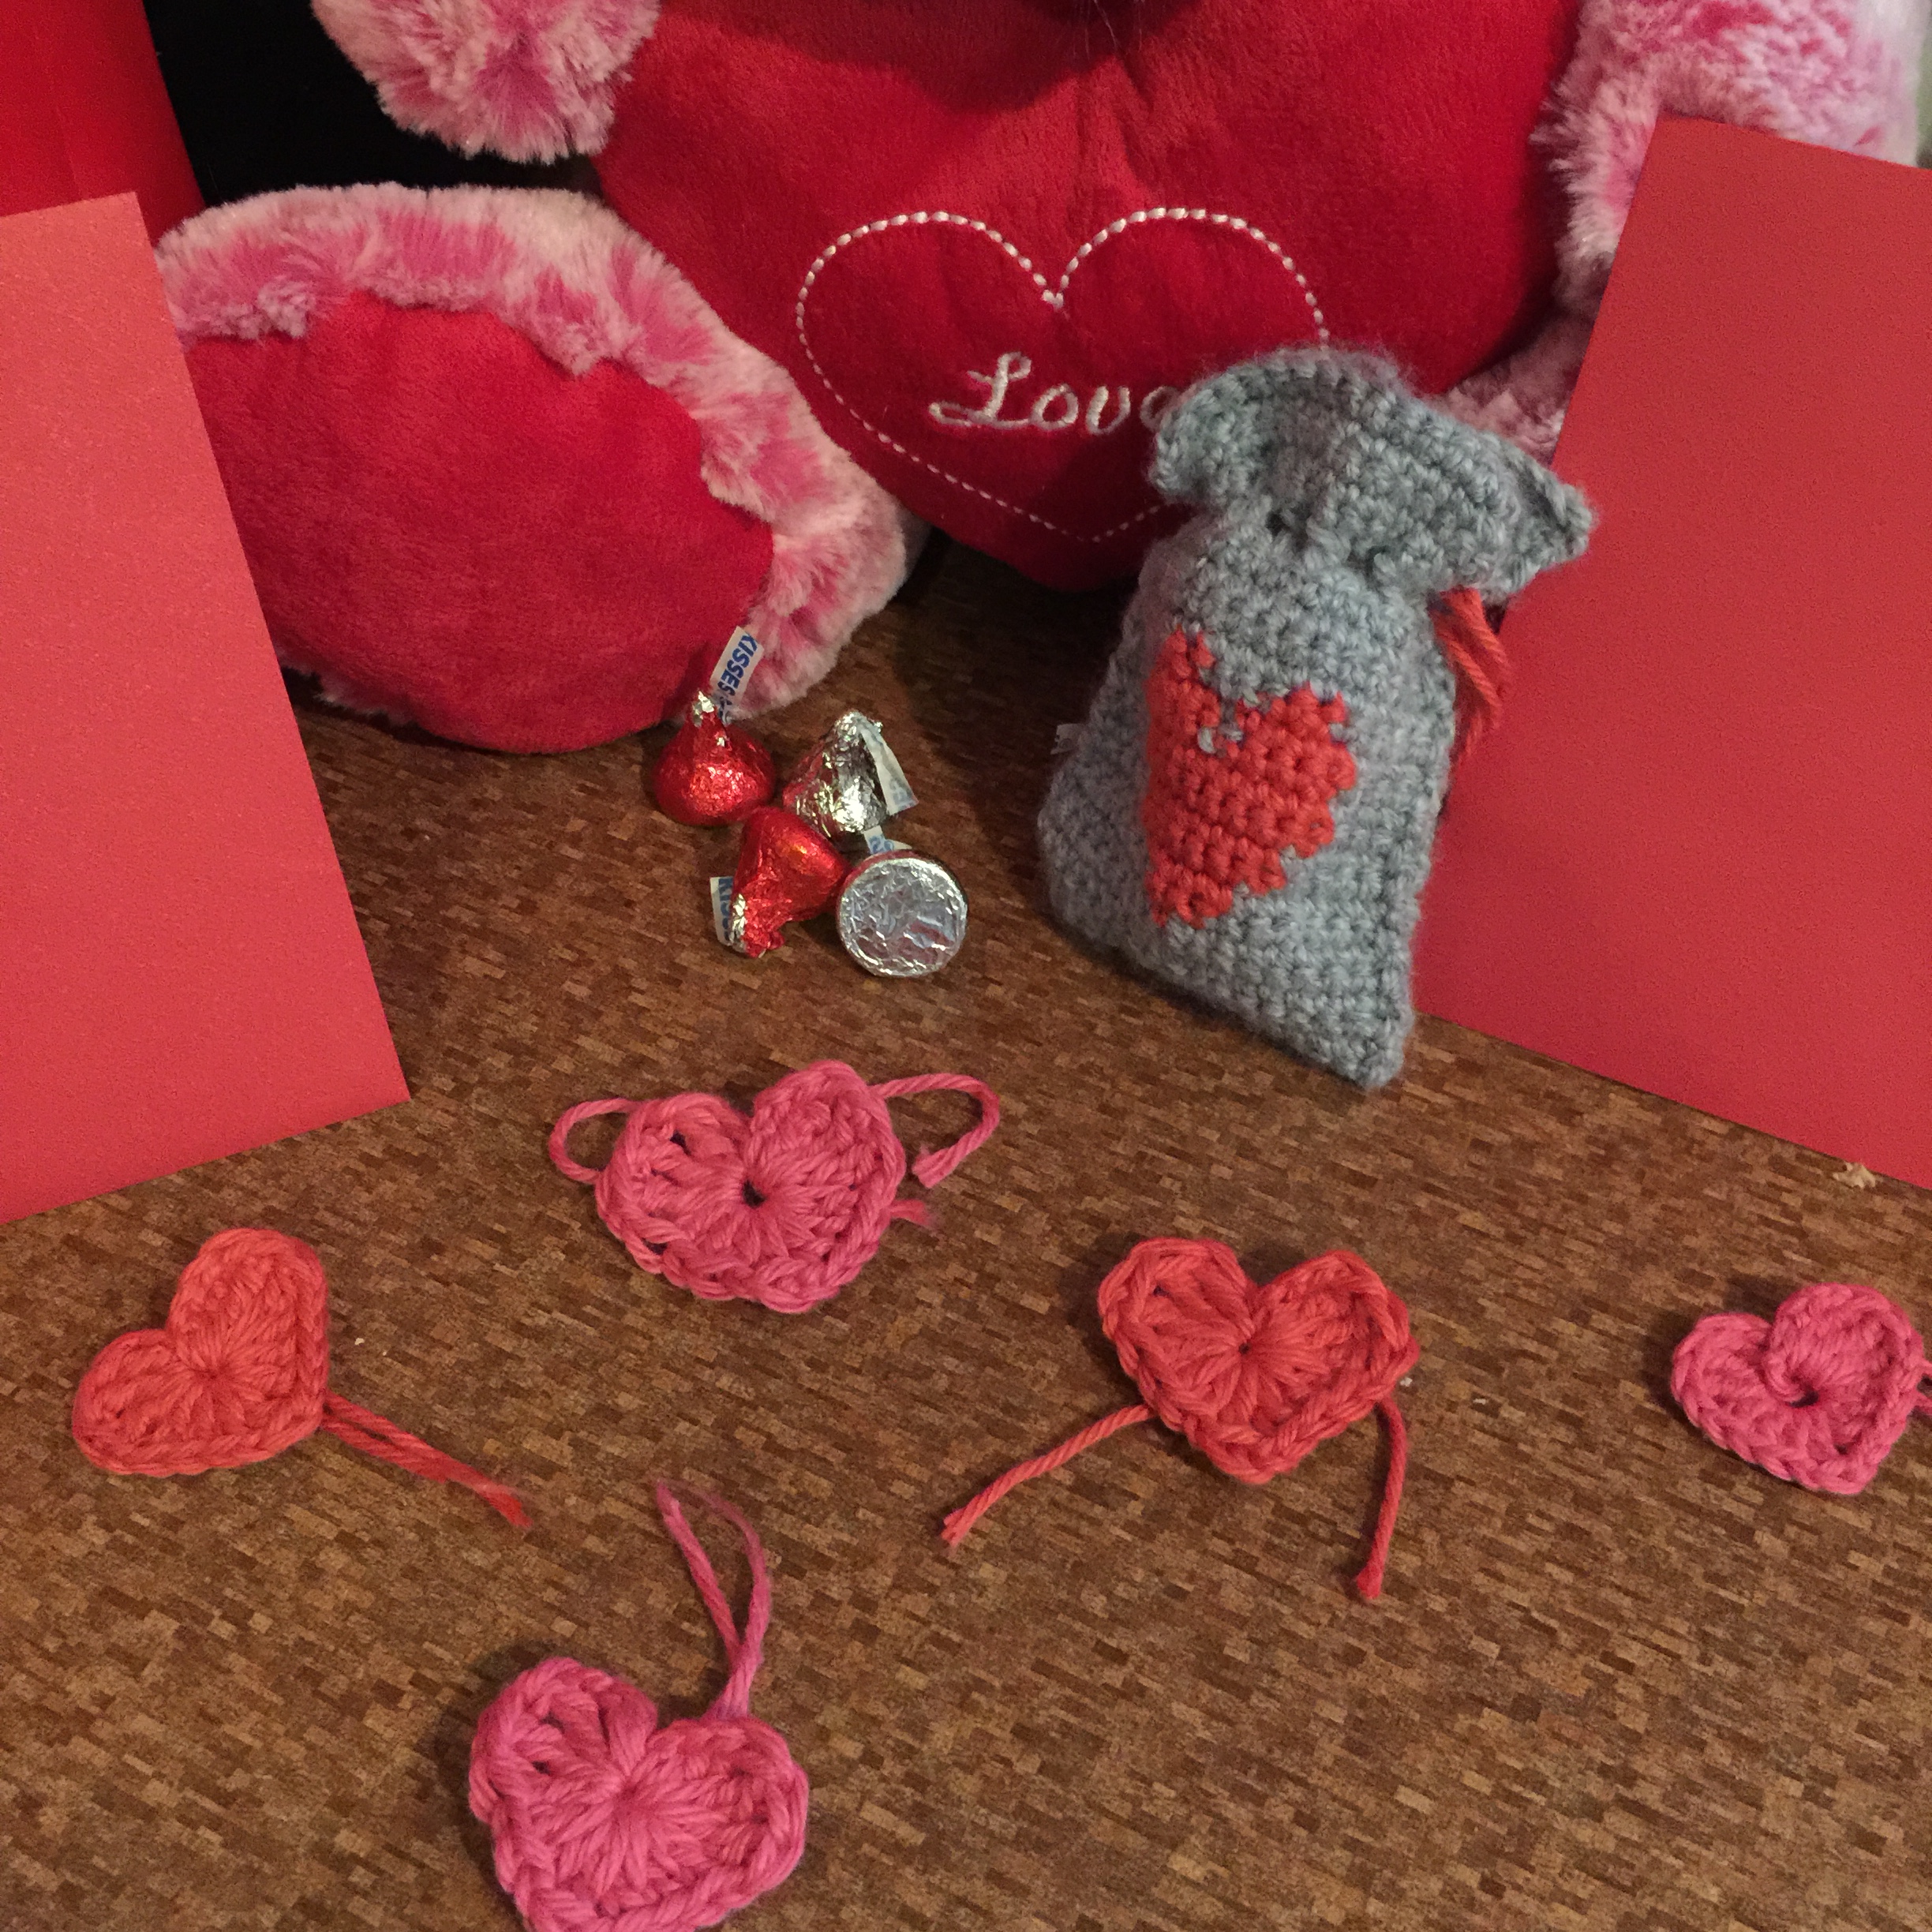
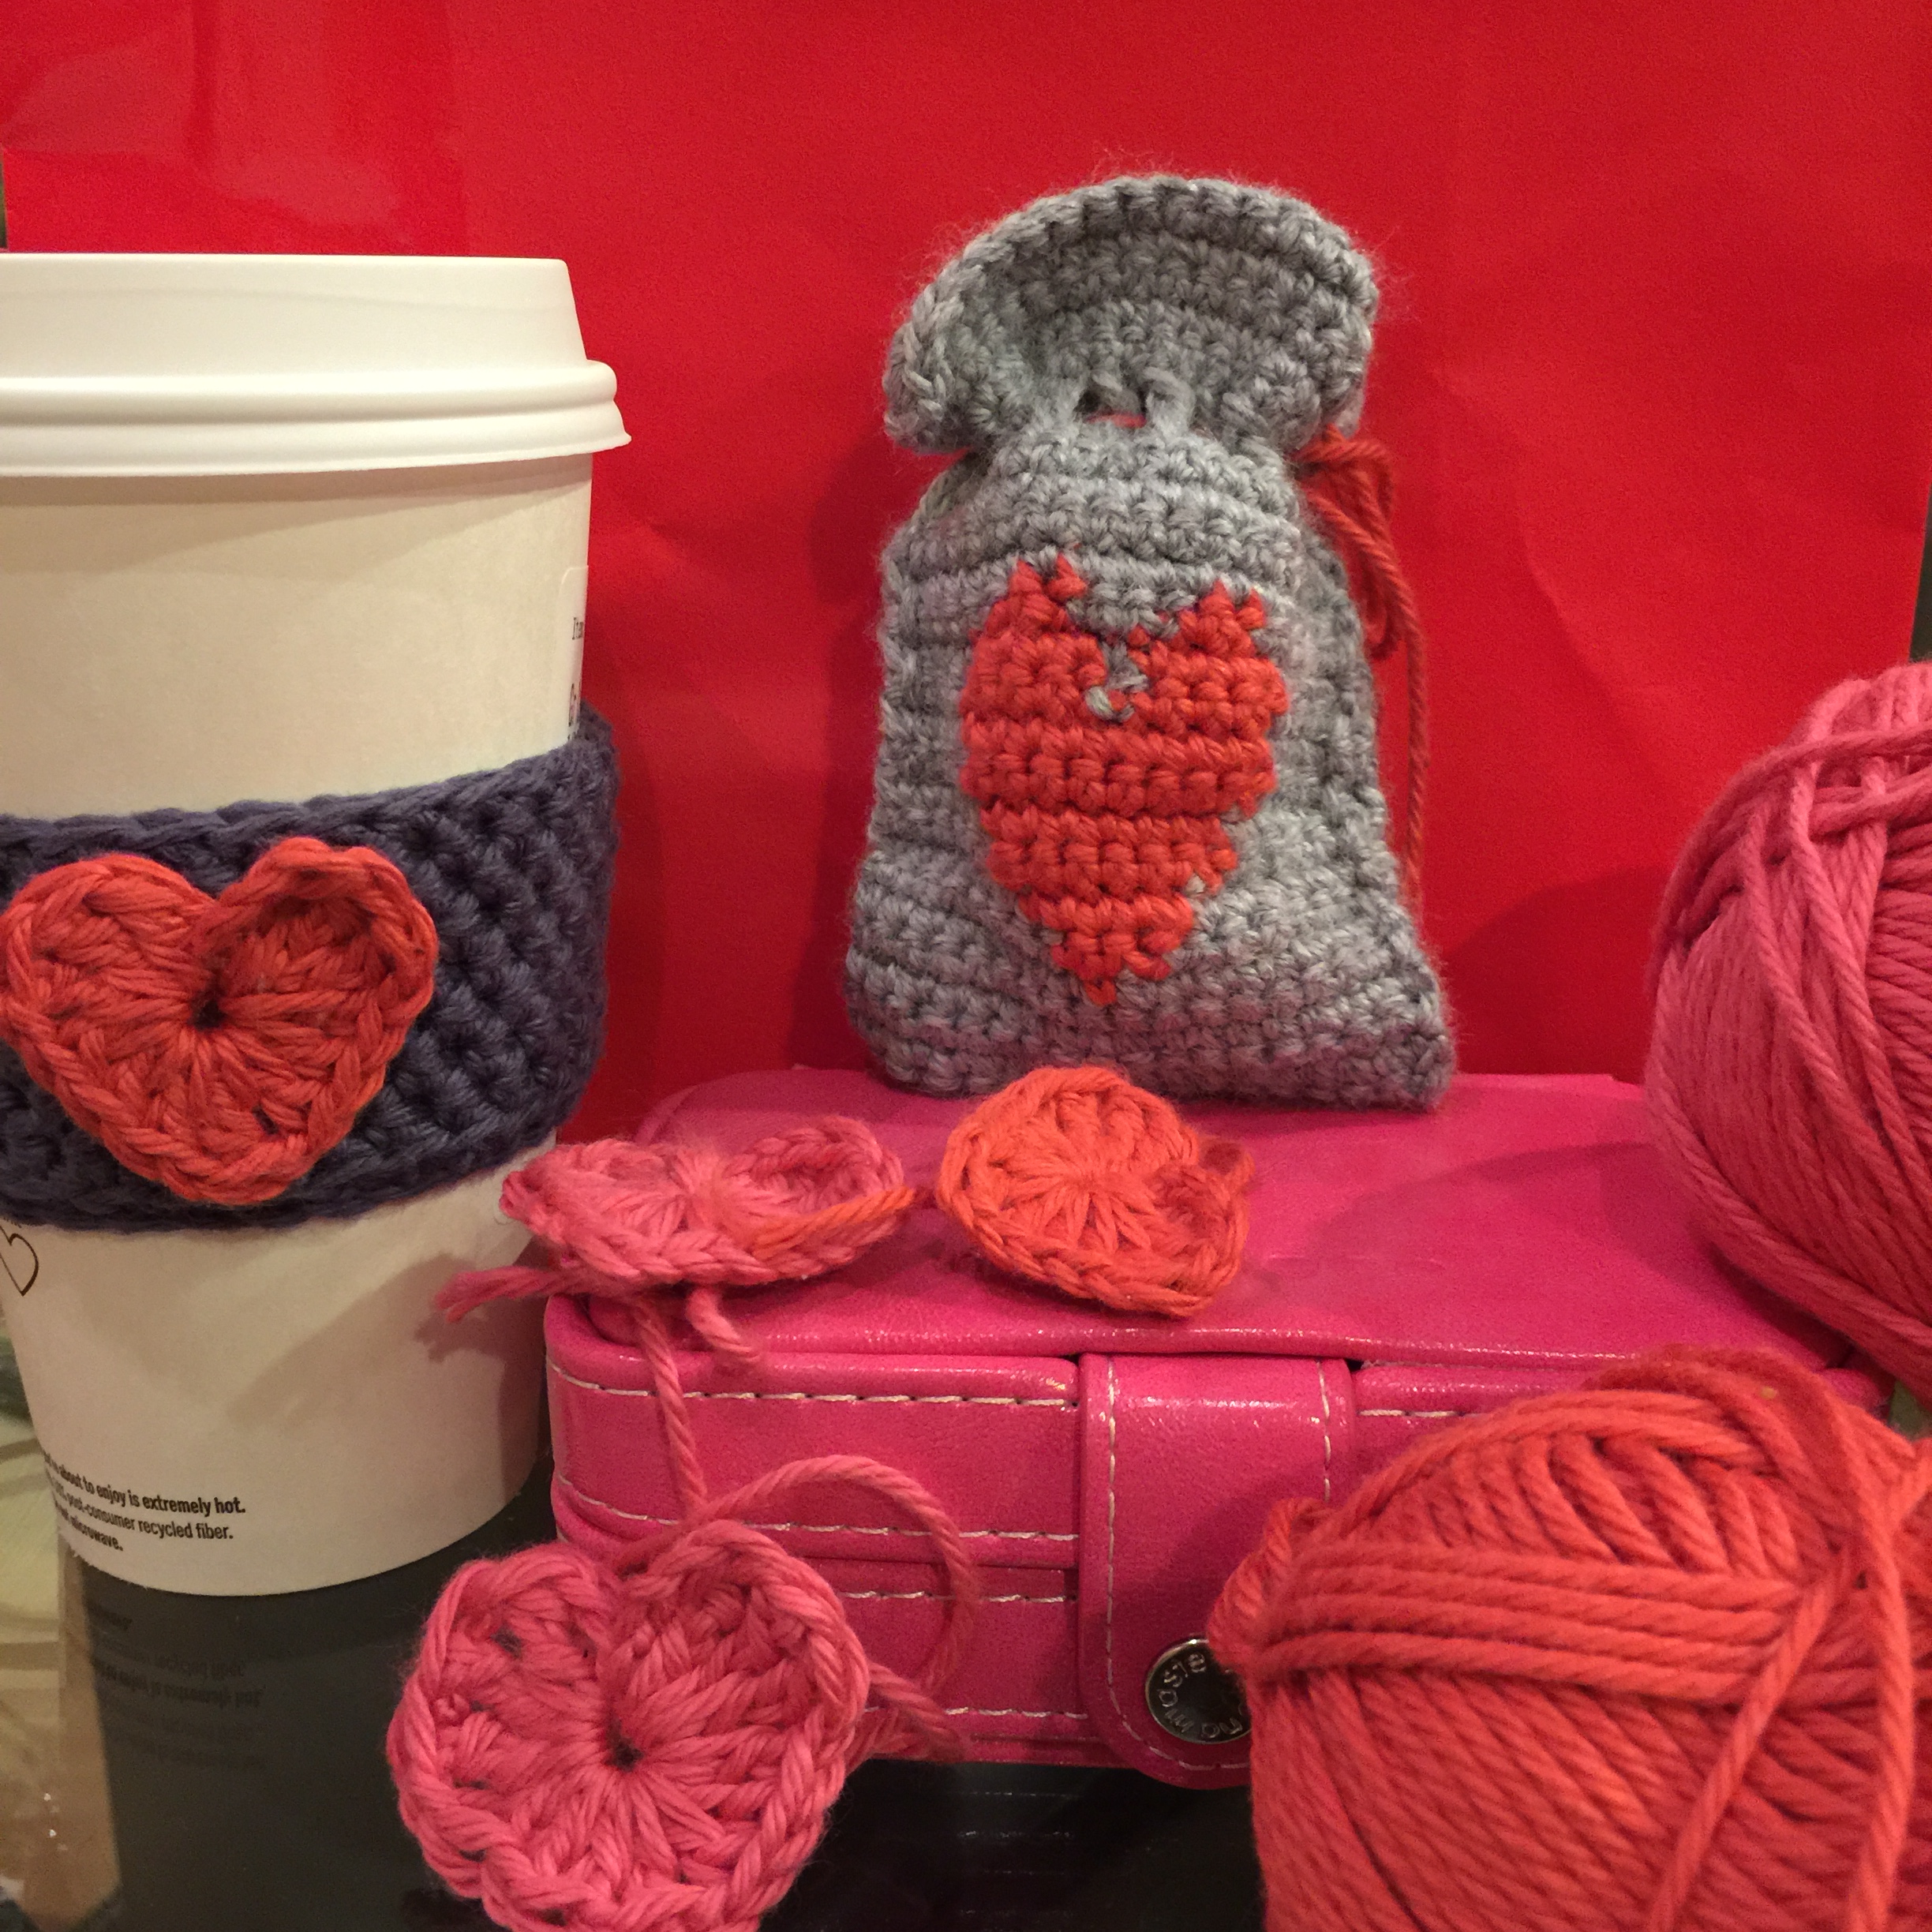
Do you see how cute this is?!?!

I chose to go with the elephant pattern because it is ridiculously adorable (and the baby’s name is Ellie which seemed to be a cute fit).  Plus, I could crochet it in pink as a sort of homage to my reverence/fascination/fear of Winnie the Pooh’s “Heffalumps & Woozles” cartoon nightmare.

I’d explain the step-by-step to you, but it’s been long enough now I don’t remember much beyond crocheting weird, hollow elephant pieces I stuffed with fluff and stitched together.  See below:

I’m excited to test out more of the patterns in this gem of a book!! Who knows, maybe I can work up a “woozle” friend.  For now at least…..

Have a wonderful rest of your week!

It’s BBQ Season! :: Hobo Stew

Today was a gloriously beautiful & sunny day here in the Pacific Northwest. I absolutely love when the temperature is in the 70’s. It’s perfect.

& you know what makes perfect weather even better?

BBQ.

I’m a firm believer that it doesn’t matter what you BBQ, but a favorite in my household is hobo stew. It’s hearty, full of vegetables, delicious, makes incredible leftovers, delicious, so easy to make, oh and did I mention delicious?

I’ve seen a ton of different recipes for hobo stew online, but after a few different experiments we have found exactly what we like in our house. I prefer a lot of vegetables and my husband likes to stick with meat, potatoes, and green beans. Either way though — delicious.

Here’s what you need:

Photo Apr 17, 1 54 03 PM

  • Foil
  • Ground beef
  • A1
  • Worcestershire
  • Potatoes
  • Carrots
  • Green beans
  • Mushrooms
  • Onion
  • Zucchini
  • Salsa
  • Butter
  • Salt/Pepper
  • Garlic salt

The prep work takes the longest, but trust me — it’s worth it.

Photo Apr 17, 1 57 11 PM

Photo Apr 17, 2 04 50 PM

Photo Apr 17, 2 11 38 PM

Voila!

Next, you’ll need a pretty large piece of foil to assemble everything together. You’ll start with a generous amount of ground beef in the center, sprinkle with salt and pepper, then add some sauce. Flavor is key here, so don’t be shy about the amount of A1 or Worcestershire. Now you’re ready to pile on the vegetables!

Photo Apr 17, 4 29 26 PM

Then I like to end with a good amount of salsa and a large pat of butter. This helps keep everything moist and juicy.

Next is the more difficult step: wrapping everything up so that nothing leaks out. I’m really not good at this and always lose a lot of juice, so I’ve handed this job over to my husband. He gets to take over with the wrapping and actual cooking of the food.

Photo Apr 17, 4 30 28 PM

Photo Apr 17, 4 31 28 PM

Photo Apr 17, 4 38 26 PM

All these need is 20 minutes on one side, then about 10-15 minutes on the other.

Photo Apr 17, 5 13 07 PM

What you’ll end up with are beautiful little foil pouches, full of goodness, just waiting to be devoured.

Photo Apr 17, 5 14 14 PM

Carefully cut open the pouch, try not to burn your tongue by taking a bite before it cools, and enjoy!

Bon appetit!

DIY Yarn Cabinet: A Post with a Moral

“Things don’t always turn out the way you plan.”

I hate that phrase.  Yeah, life is full of change and the unexpected always tends to happen and blah blah blah.  Unfortunately, it’s one of those annoying quotes that is so true it demands a sort of grudging respect…and sometimes it deserves to be the theme of blog posts.

I wanted to make a yarn cabinet.  I pinned, I planned, I plotted, and I scoured stores waiting for JUST THE RIGHT CABINET.  And then I found it.  Granted, it was ugly and banged up but that just knocked it down to the perfect price.  I ripped off the door and got to work turning it into a glorious yarn castle.

The door
See the awesome mirror and “wood” lattice work?
Door ripped off and ready to paint!

There was a lot of sanding, profanity, and finally:  PAINTING!  I decided to paint it white (it’d go with everything!) with a chalkboard front.

White Paint.  Chalkboard front.
White Paint. Chalkboard front.

Well, in the photo it doesn’t look so bad.  But after painting it white, it showed every single little hole, ding, and scratch.  And the white just seemed wrong, even though I had spent an hour in a Lowes picking it out.  I was displeased.  Still, I decided if the outside wasn’t what I wanted, the inside sure as hell would be. Another trip to another store! One hour later (I may be the tiniest bit indecisive), I found some scrapbook paper that was EXACTLY what I wanted.  Sure, I should have gotten contact paper…but the three options I found weren’t doing it for me.  There was a LOT of measuring (and remeasuring) and cutting.

Mad cutting skills.
Mad cutting skills.

I used a spray adhesive to line the inside and….IT WAS GORGEOUS!!! SO BEAUTIFUL!  Totally made up for the lackluster outside.  Super proud of myself, I started modge-podging my perfectly placed paper liner.  In the words of Pretty Woman:  “Big mistake.  Huge.”  The paper immediately turned to MUSH.  It wrinkled, it bubbled, and all the color smeared.

I WAS HORRIFIED
I WAS HORRIFIED

Lots of profanity, and I tore the paper out.  Out of a desire to have the damned thing done, I slapped the door on anyway (more profanity), spent way too long trying to write something in chalk and called it good.

Ta-Freaking-Da
Ta-Freaking-Da

After I got the door on, a lot happened in my life.  I got a job offer, quit my job I had at the time, and found a new place to live within the span of a week.  Needless to say, the cabinet got bumped down on the list of things I was thinking about.  While it was a lot of change and a lot of chaos, it was better than anything I had planned or even COULD have planned.  A week or two after moving, I happened upon some perfect chevron contact paper.  FOR $3.00.  I took it home and put it in my cupboard.

Chevron
Chevron

The paper was better than the scrapbook paper I had originally planned for my cupboard.  Granted, most of it is now covered by my yarn stash, but I know it is there and it makes me happy.  The same goes with my entire cabinet–it was definitely a lesson in going with the flow and that your plans aren’t necessarily always the best.  Also, it holds my yarn…which reminds me…I have a crochet project to finish.

Bye Felicia!

Let’s Get Organized: Coffee Corner

I like to think of myself as an organized person. Truth is, I’m really not. I’m more like an organized-person-wanna-be. I mostly get away with stuffing random things in pretty boxes and saying “Look at how organized and clean I am!”

organized • [awr-guh-nahyzd]
adj. adjective
1. Functioning in an orderly way or according to a plan.
2. Having the ability to plan and accomplish things in an orderly fashion.

Sounds simple enough. And it just makes sense, right? If I’m organized, then I feel like I can breathe a little easier and relax a little more. Maybe spend more time looking at my yarn or working on crafting projects. Who knows?

organize-all-the-things

So here’s the goal: less clutter!

For my first organizational project, I decided to fix-up one corner in the kitchen. In this case, it’s a 4-step program.

Step 1: Find an area of the house that could use a little sprucing up.
(That part is easy.)

Step 2: Decide on an action plan.
(Thank you, Pinterest.)

Step 3: Spruce it up.
(Enter helpful husband.)

Step 4: Bask in the glory and satisfaction that you accomplished something.
(Again, easy.)

Here’s how it played out for me:

Step 1: Corner in the kitchen with coffee maker and mugs. And other random, unorganized objects.

unnamed
It was actually messier than this but thankfully there’s no documented proof.
Step 2: Go on Pinterest.
24b20e1598654bb1a7a9597135bc5357

Step 3:

what-pinterest-has-done-to-women-meme-240x180
But seriously, thank goodness for husbands with lots of tools.
unnamed2

Step 4: Ta-da! Look how pretty it is!

unnamed4

It still needs a few more touches added to it, I need to decorate the chalk board, and what’s inside the drawers are a completely different story.
But for now, it makes me happy.

Learning to Knit: The Struggle is Real

Although I attempted to learn how to knit in high school, I quit when I had exasperated several expert knitters who tried to show me how easy it was. In college, I picked up a crochet hook, managed to make an ugly afghan, and became solidly Team Crochet.  At that point, I hadn’t discovered fancy yarn and couldn’t read a pattern; I simply enjoyed the process (so relaxing!) and liked the idea that I could make something useful out of string.  Enter Portland.

One of the greatest things about living in the Portland area is that it’s known for its “craft” culture.  People here are serious about their hobbies (but for the love of hipsters, don’t use the word hobby), be it coffee makin’, beer brewing, or backyard chicken raising.  Portlandia humor aside, I think there’s definitely something to be said for being apologetically, unabashedly passionate about the small things in life.  Case in point? One visit to a local yarn store (which is basically Narnia for anyone who knits or crochets) and I became a dedicated yarn enthusiast.200For the past several years, I’ve been a proud crocheter/”happy hooker” and have gladly defended and explained my fiber craft of choice.

Get it right, fools.

And then I got the knitting bug.  Maybe it was seeing people crank out so many amazing sweaters on Instagram.  Could’ve been that I went to Iceland and drooled nonstop over fair-aisle patterns I had no clue how to replicate with my hooks.

Not that I'm desperate or anything.
Not that I’m desperate or anything.

Either way, I talked about needing to learn how to knit so much that, by the time Christmas rolled around, the majority of my loved ones gifted me with knitting needles in the kindest, not-so-sublte “For the love of God, just stop talking and do it already” push ever.  So…guess what my New Year’s resolution was?!?

KIY
Hint: this.

Slowly, oh so slowly, I’m sorta-kinda getting it.  Knitting is tricky.  You have to learn how to hold TWO needles instead of just one hook and there are cables and all sorts of gadgets involved.  My first attempts at casting on and trying to just practice the “knit” stitch involved a lot of profanity and crossed eyes.  And although I’m better than I was…

I still look like this.
I still look like this & knit at about this speed.

I’m finally beyond making swatches though!! I’ve started a scarf with the most gorgeous, expensive yarn I have ever purchased (Madeline Tosh’s Mandala colorway).

Yarn on a plane.
Yarn on a plane.

It’s an absolute joy to work with–which is good because otherwise I’d probably ball it up and call it a day.  scarfEventually, I will finish it.  At the moment, I’m getting ready to start a brand new job and move so all my learning-to-knit/crafting time has been severely reduced.  However, once I’ve got that time back:  prepare yourself for a scarf post.

Valentine’s Day Crochet Crafts

Happy Valentine’s Day!

Around here, every day is like Valentine’s Day.
We don’t need a certain date on the calendar to let each other know we love one another.

But.

It’s fun to have an excuse to get some flowers and chocolate, right?

IMG_3188

These gorgeous roses were a nice surprise from my husband today.

– – – – –

In honor of Valentine’s Day and keeping up with trying to be crafty, I wanted to crochet some fun Valentine’s Day items.

Going along with that, I figured I needed some new yarn and crochet tools.
Obviously.

IMG_2980
There’s nothing like getting a package in the mail and having it be full of yarn.
Seriously, there are no words.

– – – – –

The first project I tackled was making a coffee cup cozy.
(I also failed to take pictures of the creation process.)

Here’s the finished product:

IMG_2981

IMG_2982

It’s amazing to me that it actually fit on the cup. I ended up making up my own pattern and the back of it looks a little wonky, but you don’t need to see it!

– – – – –

The second project I tried was making a little bag with a heart crocheted into it.
This one was a lot of fun to do!
(Again, I didn’t really take pictures of the process. Second fail.)

Actually, it’s more like a triple fail.
Here’s what happened:
I read the instructions wrong and used the wrong stitch, so the first bag I made turned out way too tall and funny looking.

IMG_3002

My husband tried telling me it looked good, but I could tell he was just being nice.
It IS full of starburst candy here though, so it can’t be that bad, right?

Thankfully I had time to make another one (with the correct stitch) and it turned out so much better.

IMG_3039
And this one is full of chocolate caramels, so I love it even more.

– – – – –

Lastly, I realized crocheting little hearts was a lot of fun. I learned how to make them for the coffee cozy and couldn’t resist crocheting a few more.

IMG_3052

– – – – –

IMG_3197

Overall, it’s been a fun week of crocheting and eating lots of chocolate.
I’m also really happy with how all of my crochet crafts turned out!

I can’t wait for the next holiday that allows me to eat chocolate all day long.

Actually, I’ll probably just do it tomorrow.

Happy -eat chocolate- Day!

— Jamie —

Alphabet Wall

DIY: Alphabet Wall Project

Photo Feb 08, 11 39 39 AM

My daughter’s room has been in a serious need of a make-over. The walls were decorated with decals that matched her crib bedding but it turns out those don’t like to stay stuck to the wall for very long. I knew that I wanted to find some new way decorate but I wasn’t exactly sure what I wanted to do.

Enter Pinterest.

I found this do-it-yourself alphabet project that looked simple enough and immediately knew that this was what I wanted.

… 4 months later, I finally went to the store to buy the supplies.

Here’s what you need:

Photo Feb 03, 8 27 00 PM

  • Paper mache letters
  • Mod Podge (I used gloss)
  • Paint brush
  • Scrapbook paper
  • White spray paint (I used flat)
  • X-Acto knife (not pictured)
  • Picture hanging strips (not pictured)

Photo Feb 03, 8 28 20 PM

I found most of the supplies that I needed at JoAnn.

Tip
: Google “JoAnn Coupon” on your smart phone.
It’s most likely that you’ll find a 10-15% off coupon that you can have the cashier scan.

Alright! Here’s how to make your own alphabet wall!

Directions:

First you’ll need to spray paint the letters. I wanted the sides of the letters to be a different color than brown.
This step I actually did over a couple of days. I sprayed the front and sides of the letters, let them dry, then sprayed the backs of them the next day and let them dry.

Tip: If you enlist the help of your husband, this step may go a lot faster. If you don’t have a husband, you can substitute a fiance, boyfriend, brother, father, or any big, strong man will do.
It did in my case, anyway.

Photo Feb 04, 8 06 00 PM

Here’s a picture of all of the letters painted:

Photo Feb 05, 2 57 49 PM

Next, you’ll want to figure out what scrapbook paper you want to use to cover the front of the letters.
I laid the sheets out over the letters to see how it would look, then traced, and cut!

Tip
: Cut the letters out a little more than you might need.
You’ll go back over them later with the x-acto knife to make the edges smooth.

Photo Feb 05, 3 12 05 PM

Photo Feb 05, 7 22 42 PM

Once I had all of the scrapbook paper cut out, using the mod podge was the fun part!
This was actually my first time mod podging anything and in the words of Hayley “it’s like painting with glue!”
She was right.

Photo Feb 05, 8 01 52 PM

Tip: After a few of the letters were done, I realized that I was putting too much mod podge on before the scrapbook paper.
It started to leak out the sides, so just a light layer should do the trick.

I let those dry overnight and the next day I took my x-acto knife to cut off the excess paper on the edges and to cut out the insides of the some of the letters.

Photo Feb 06, 8 06 41 PM

The next step is fun, because you get to use more mod podge! I put a light layer over the tops of the scrapbook paper to make them shiny.
Let them dry overnight then they are ready to be hung up!

Photo Feb 07, 6 38 52 PM

Photo Feb 07, 7 07 55 PM

Hanging them up was really easy. I used two Command picture hanging strips per letter.

Tip
: This is another time where my wonderful husband’s help came in handy.

And here’s the finished product!

Photo Feb 08, 11 40 46 AM

This was a super easy and super fun project to do. I am really happy with the end result and hope that you will be too if you try it!

— Jamie —